
Step by Step Tutorial On how to Setup Oracle Database to learn PL-SQL.
As we all know that Oracle is one of the most used corporate DBMS software. Oracle has been working on the PL/SQL extension to facilitate an make the Oracle Database more powerful and great for complex Queries. But, to learn or Used PL/SQL you need to have Oracle Database installed on your system. In this tutorial, I will guide you through the process of installing Oracle Database on your system.
What is PL/SQL?
PL/SQL is a Procedural Language (PL) that extends the Structured Query Language (SQL). If you have been programming Pascal or Ada, you will find much familiar syntax in PL/SQL.
It is difficult to write applications using SQL only because each SQL statement runs independently and has little or no effect on each other. To overcome this limitation, you often have to use other programming languages such as C/C++, NodeJS, PHP, and Java, by using standard database interfaces. Oracle supports this approach when you want to develop applications that interact with Oracle databases.
Download and Install Oracle Database.
1- you need to go to the Oracle official website and download the Oracle Database. We are going to download Oracle Database 11g Release 2 on Microsoft Windows (32bits).
2- unzip the downloaded files into a folder e.g., C:\setup\Oracle as follows:
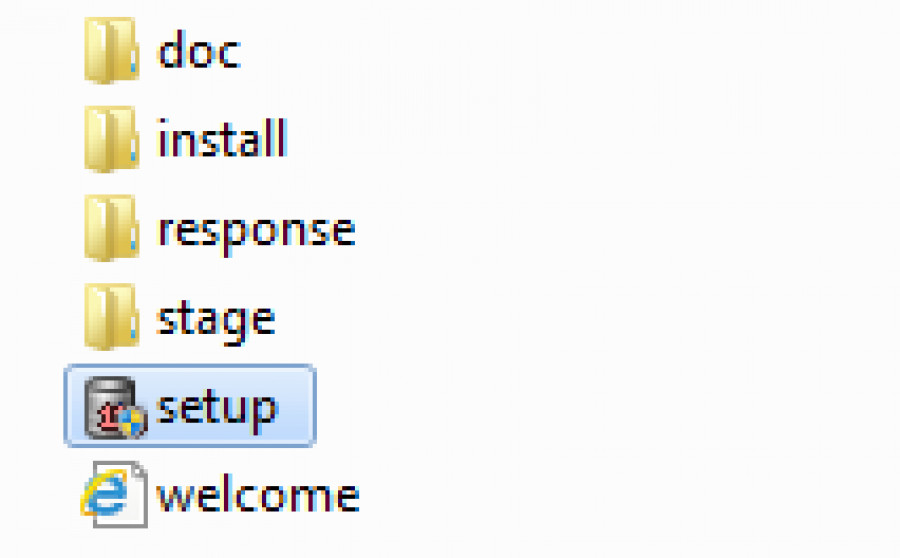
3- double click the setup.exe file to start installing the Oracle database. You need to follow the steps as described in the following section:
Step 1.
In this step, you can provide your email to get updated information on security issues from Oracle.

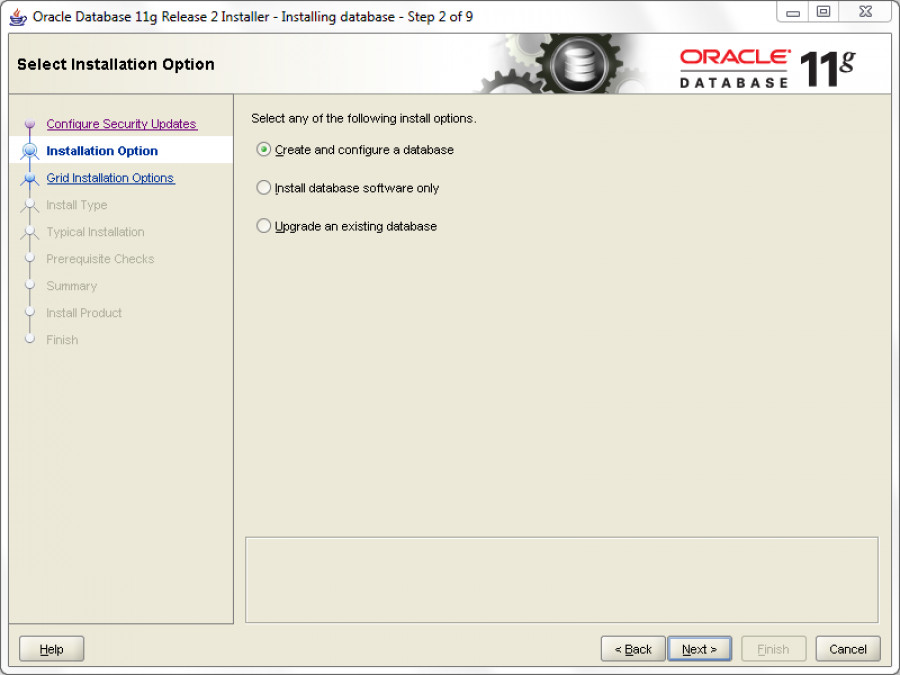
Step 2.
There are three options in this step as shown in the screenshot. Choose the first one to create and configure the database and click the Next button.
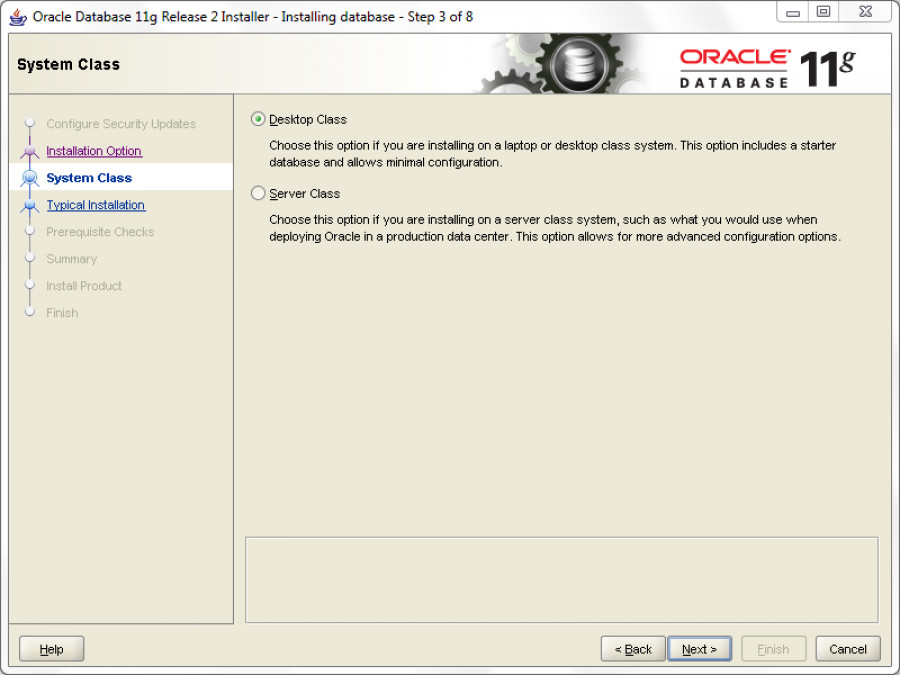
Step 3.
If you are installing an Oracle database in your laptop or desktop, choose the first option, otherwise, choose the second one and click the Next button.
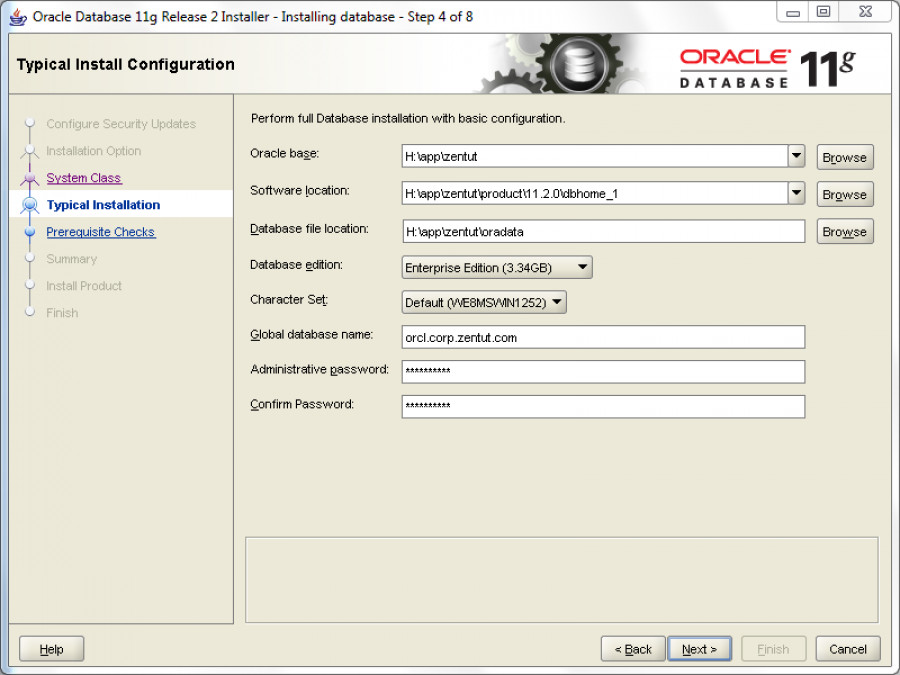
Step 4.
This step allows you to enter full database installation folders. You can change the Oracle base folder to e.g. c:\app\bproo, other folders be changed accordingly. After that click the Next button to go to the next step.
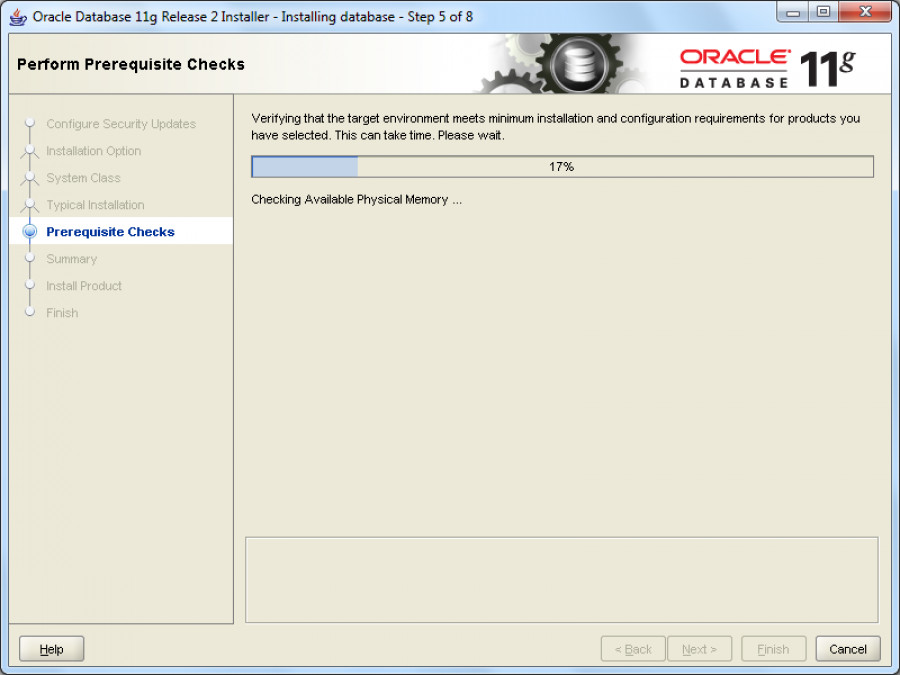
Step 5.
In this step, Oracle will perform prerequisite checks before installing the Oracle database component.
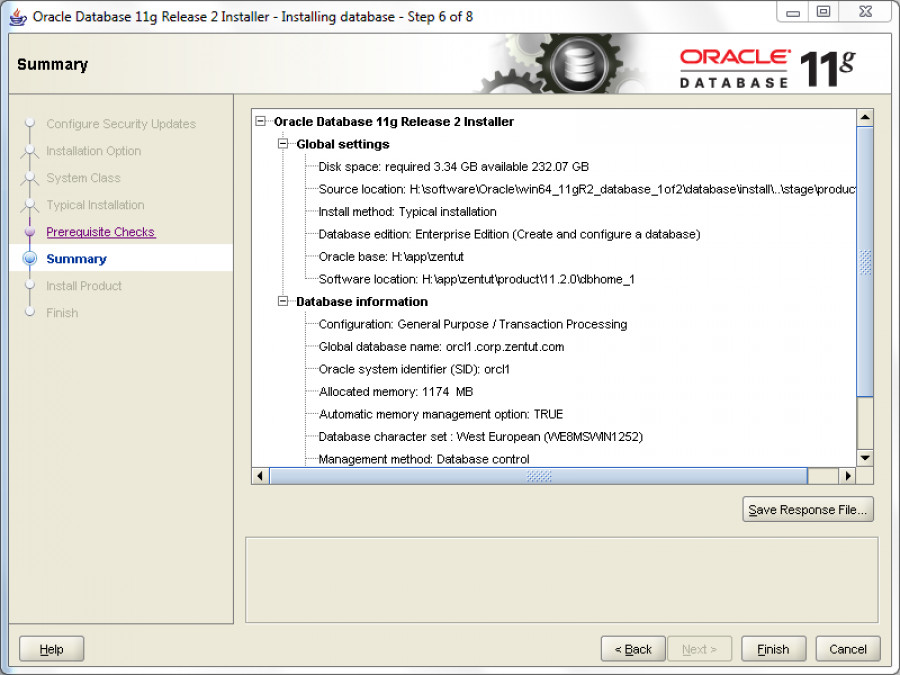
Step 6.
This step shows you summary information of the previous steps. Click the Finish button to start installing the Oracle database.
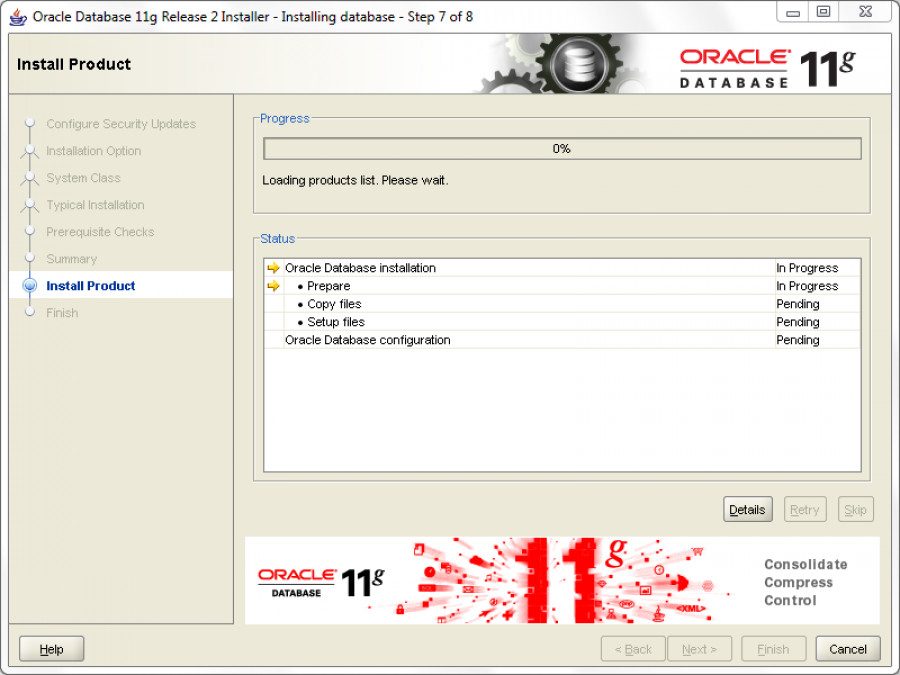
Step 7.
This step copies the files to the corresponding folder and installs the Oracle components and services. It takes a few minutes to finish so please be patient.
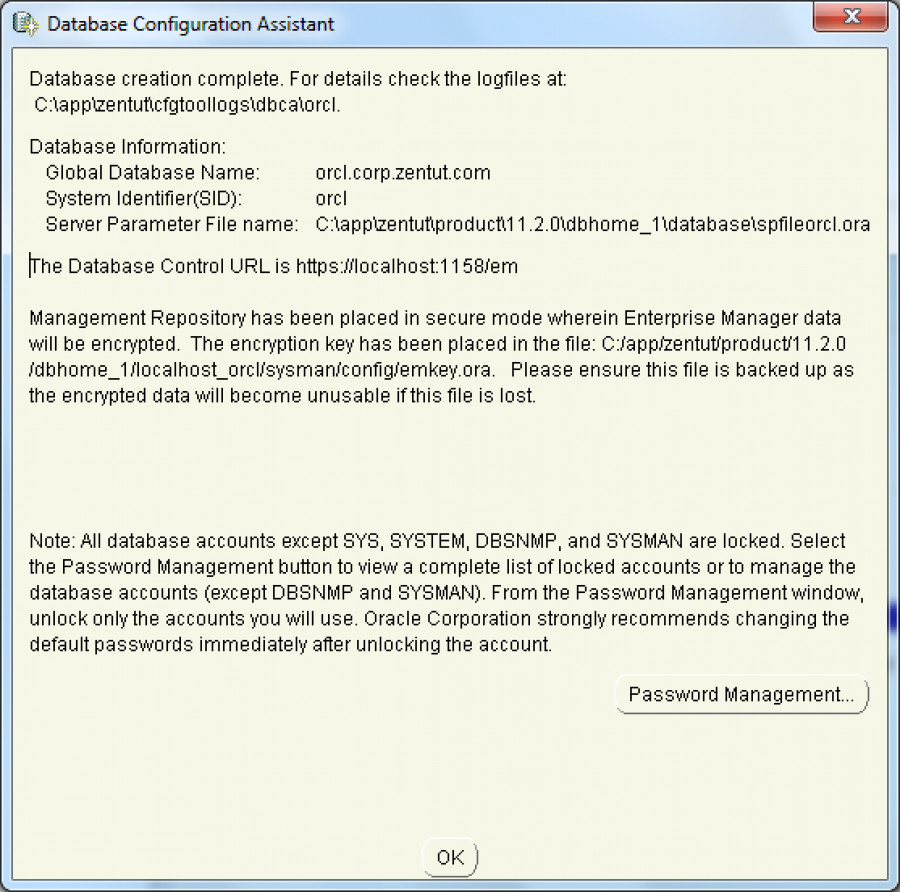
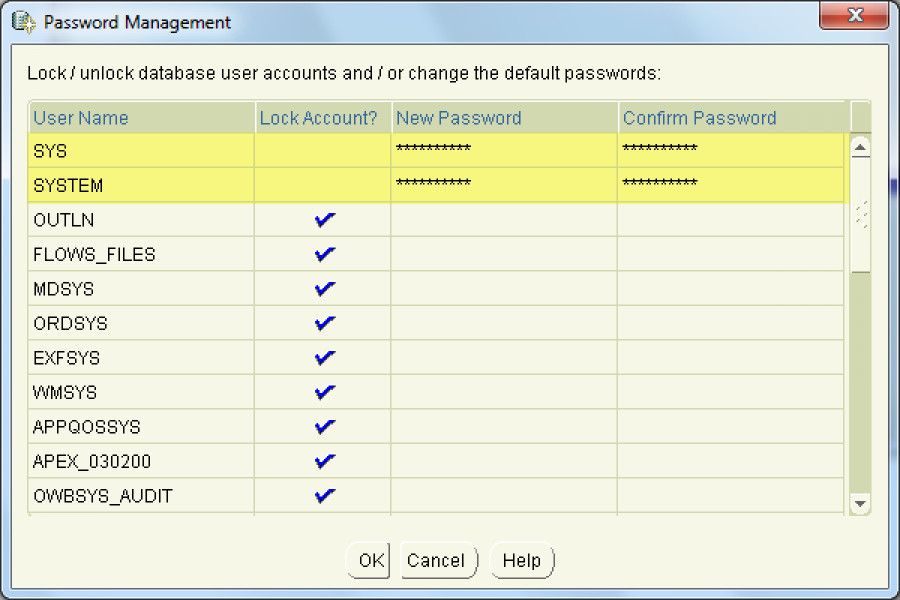
After complete, the installer displays a database Configuration Assistant dialog, click on the Password Management… button to set up the passwords for different users.
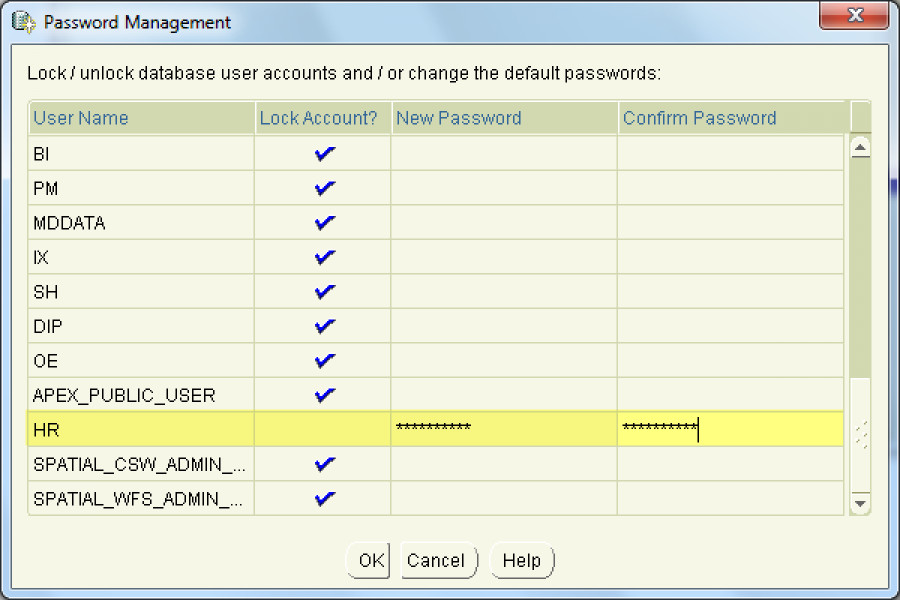
We need to unlock the SYS, SYSTEM and HR users and set their corresponding passwords.
1st-step
2nd-step
3rd-step
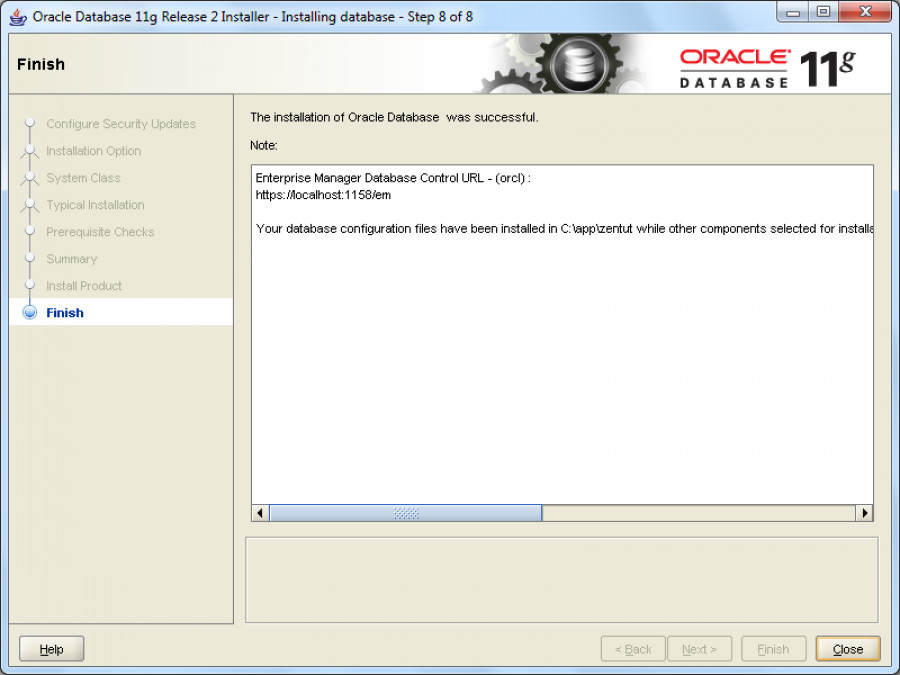
Step 8.
Once the installation process is done, you can click the button to close the installer.
Verify the installation
If everything is fine, you will see the Oracle folder as follows:
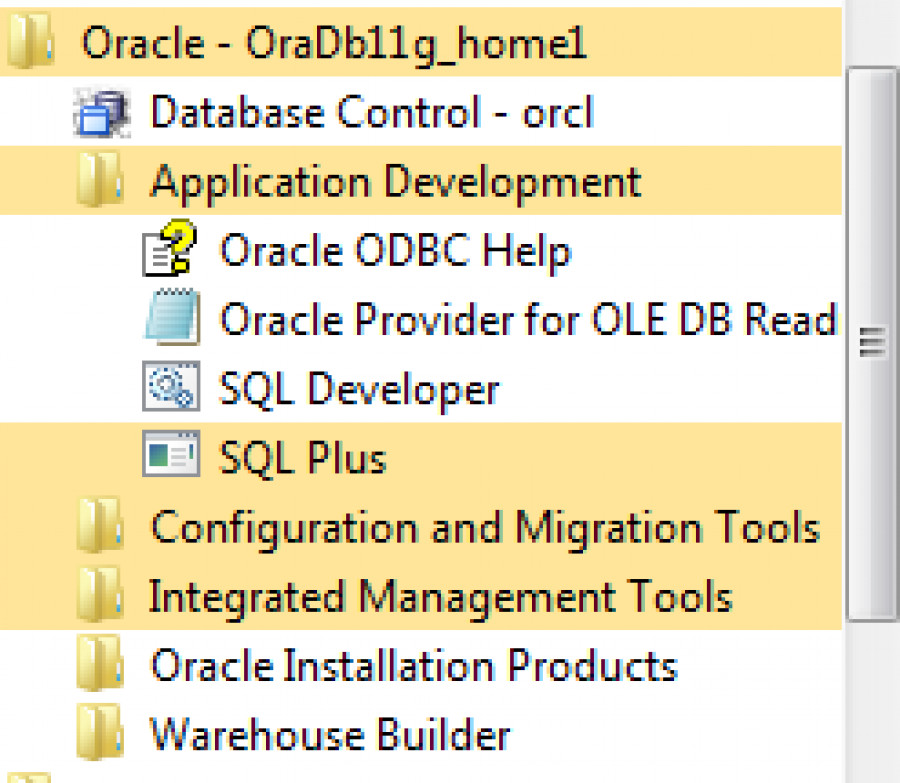
1- launch the SQL Plus that is a command-line interface tool that you can use to interact with Oracle databases.
2- enter the username and password that you have set in the installation process. we enter the HR user and its corresponding password.
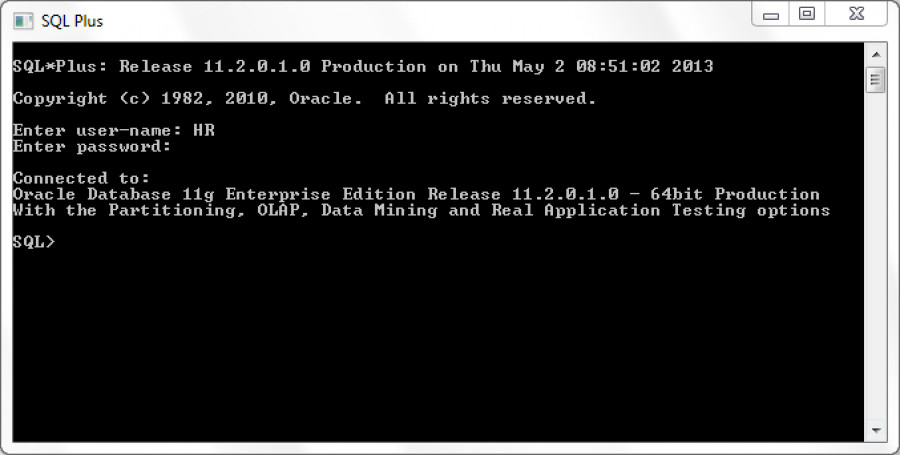
3- enter the following statement:
SELECT * FROM dual;
If you see the output as shown in the following screenshot, it means you have installed the Oracle database successfully and ready to start learning PL/SQL programming.

I hope you got it up and running from the first reading. if that is not the case, please go through it again and make sure that you didn't make any mistake. and is you encounter a strange error hit the comment section and let us see if we can help.

Kamdjou Duplex
the world would not be so beautiful without people willing to share knowledge


Save Your Money Today!

By receiving free stock articles and smart tutorials to advance your career.

- 7 years ago
sql for beginners

- 7 years ago
sql for beginners - sql queries

Save Your Money Today!
By receiving free stock articles and smart tutorials to advance your career...